# 10 - Mystery / New Mystery of the Emblem Chapter 2
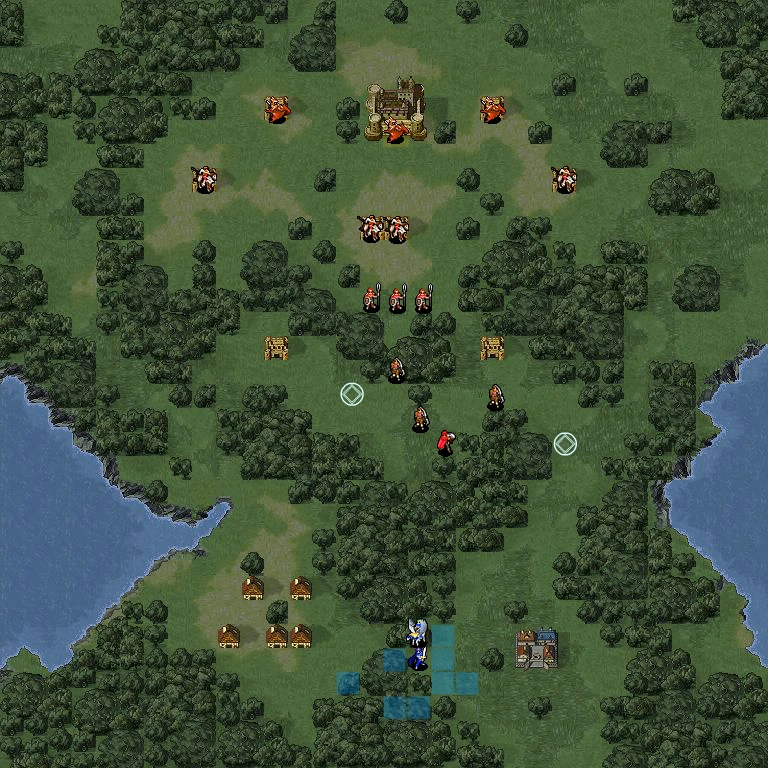
Here is an example of a fun early game chapter to play. Recent Fire Emblem early game chapters tend to go easy on the player, but this one throws a couple of curve balls at you. First, there’s the thief with the droppable Lady Sword. It’s a fun puzzle to try and solve, as the Lady Sword is an absolute must-have.
What’s even more cool is that it’s a map where the boss actually moves off his throne. This has a lot of fun implications too since he’s a Wyvern Knight. In the SNES version he wields a Knight Killer, which can basically wipe out a good chunk of the characters in the player’s army by this point.
With the boss having such high movement the player is put into a position where their every move matters. If I’m not ready to take on the boss then that’s a reset for me. This forces me to pay attention, and its made me appreciate the map for it.
Just to recap: This map is very fun to play on because of a well executed "thief drop" and because of a boss who enhances the level of thought and strategy required to play it.
____________________________________________________# 9: Mystery / New Mystery of the Emblem Chapter 7
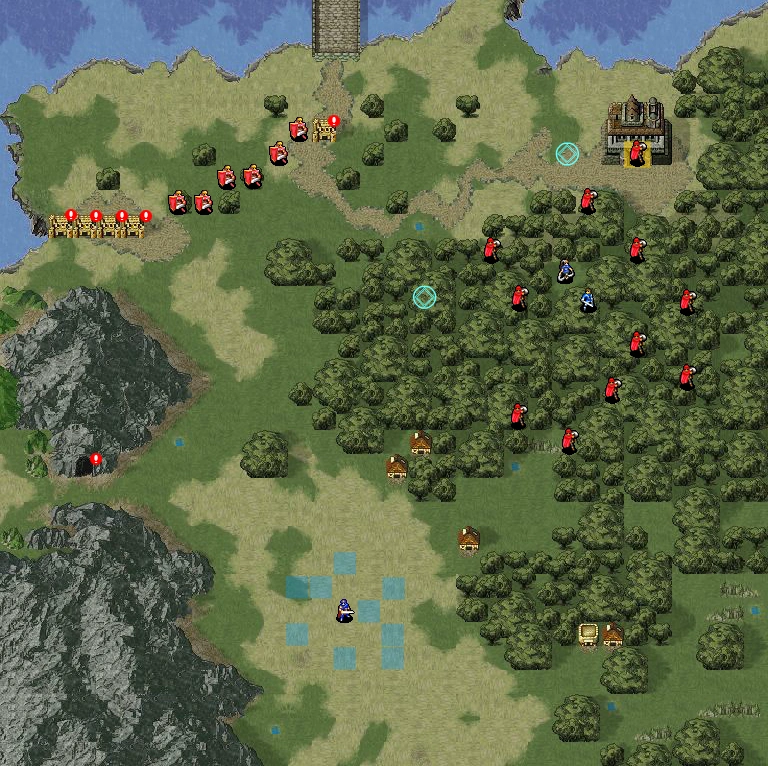
This is the map where you get Navarre and Feena. There are a bunch of thieves who are actively running away from you who drop some pretty awesome items. This makes the chapter fun because it rewards smart decisions. If you kill the thieves quickly you get stuff like a Star Shard, a Seraph Robe, promotion items or a bullion in the remake version.
What I like about this map is the creative way it gets you to play faster. If you want to get all the stuff, you need to be able to reach those thieves in the quickest period of time possible. It's a map where the presence of forest tiles actually make sense because it's acting as a buffer between the player and the thieves. The addition of Navarre and Feena is an interesting choice that increases the player's options. In terms of which thief do you want to strike down first.
The presence of Astram's mercenaries also adds to the quality of the map. They're so strong by this point in the game that the player will try to avoid them whenever possible. This has two implications: 1) If the thieves run within the mercenaries range it creates a "safe zone" for them that the player can't get to. After all the player doesn't want to get wrecked by said mercs.
2) Once the mercs start chasing the player, they act as a turtle disincentive. It's the game's way of getting the player to hurry up and beat the level.
Since the leader of these mercs is recruitable later on, it further incentivizes the player to avoid combat with these mercs too.
Just to recap: I love this map because of the excellent "thief drops" and for its clever positioning of powerful enemy mercs, which make the map more fun to play.
________________________________________________
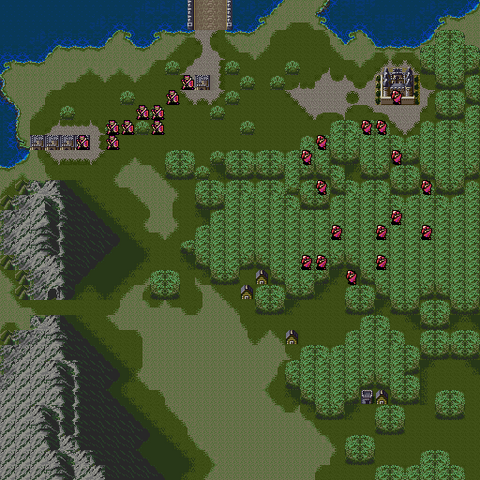
# 8: Binding Blade Chapter 7

This is one of those maps that I file away under “frustrating, but in a good way”. This map is unrelenting. It starts by putting several recruitable NPCs in danger. As if that weren’t enough these NPCs are in a fighting mood, which makes your life more difficult. The enemies in Hard Mode are powerful, especially those tanky wyverns. This means that you’re gonna have to fight HARD if you want to get those recruitable characters.
The map is also kind enough to give the player a host of valuable stuff. From a Killing Edge, to a Physic to a Red Gem this map really dishes out the goods.
So you’ve beaten the first wave of enemies and you think the rest of this chapter will be a breeze. Then the map throws a curve-ball at you.

Suddenly more enemies appear. So once again, you either play fast or die. You’ve gotta rush to the throne and the boss is no push over. It’s a very well designed map that forces you to play fast, then lets up (lulling the player into a false sense of security) and then throws a very effective turtle disincentive at you. It’s a great example of a map that’s tough, but fair which makes it a memorable and rewarding map to play.
No comments:
Post a Comment