Chapter 6

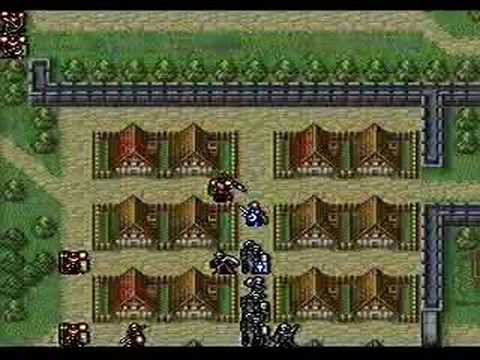
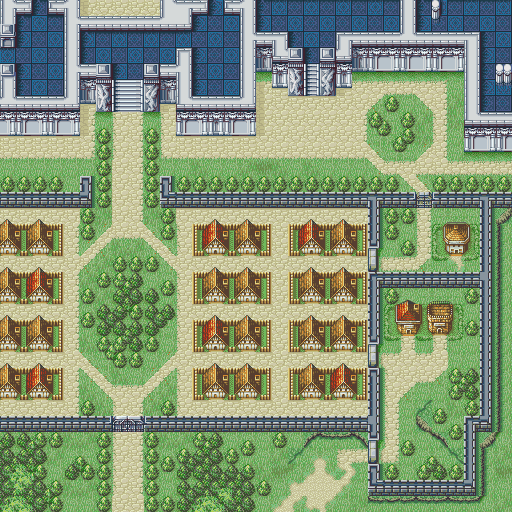
And here we have another immensely enjoyable map to play on. This is one of those maps where there are different methods of playing it, but both can be enjoyable to play as. If the player rescued the NPCs from Chapter 4x then this map is the payoff as it gives a nice array of goodies. In this map you can get:
- A Rapier
- A Paragon Manual
- A Knight Proof
- An Odo Scroll (+ 30 % Skill growth and protection from non-Wrath critical hits)
- A Pure Water
- The Recruitment of Hicks
So yeah, there's a lot of sweet stuff you don't want to miss. But these items are out of the way and not necessary to completing the chapter. But you still want to get them. If you do go for the treasures then you've got one heck of a fight as the Grandbell soldiers will come after you.

This map is actively enhanced by the higher movement of your mounted and flier units. It's as if the designers knew what the player had at their disposal and decided to actively test the player's use and knowledge of these mechanics.
The walls provide an obstacle that the player has to be smart about in order to overcome it. You could have Karin rescue drop your unmounted units, but that would still take a little bit of time even if you're not going for the treasures. So now you also have to make good use of both your mounted units and your thief. Why also the thief? Well somebody's got to unlock those doors.

The way this map is set up makes the presence of enemies an anti-turtle measure all on its own. If you don't play fast then the enemies catch up and make your life miserable. If you take a really long time Raydrik and Galzus show up and by that point you're probably screwed so it's best to avoid them altogether. Before you get to them you have to deal with enemy cavaliers showing up on the right and left sides of the map.
One last point to bring up is that it's once again an Escape map. You know the drill by now. Get everyone to escape or they get left behind. This adds an extra element of fun to the mix as the player now has to decide how they will accomplish this, and how the rescue dropping can help with that.
To sum it up, this is an awesome map that gives you a lot of choices about how to approach it. It's also great because of how it turns enemies into turtle disincentives, which is a brilliant concept all on its own. What helps to make this map stand out is how it incorporates the mounting, dismounting, and rescue mechanics into the equation. It's a rare example of a map where higher movement and para-dropping enhance a map, rather than break it.
No comments:
Post a Comment