
The easiest way for me to describe this map would be: Not as good as 11A, but still a decent map in its own right.
The main difference between this map and 11A is that Klein and his men are positioned behind the player, rather than in front of them. I don't play very fast, and even I had to go backward in order to recruit Klein. The good news here is that it's at least easier to recruit him here than in 11A.
The map puts pressure on the villages, but not very much. By the time that Gonzales and the brigands show up it's very feasible that you'd already have one of your characters up there to get to the house. Thea and her Pegasus Knight squad will most likely show up closer to the player in this version of the map which means that they're a little more threatening here.
Chapter 10B Ranking: Decent
__________________________________
Chapter 11B
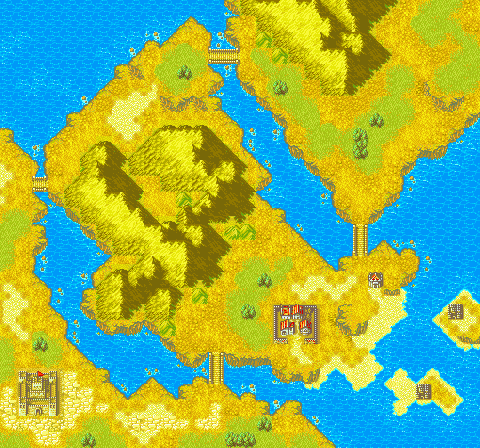
I like this map just a little bit more than 10A. For starters, the pirate forts are closer to the village, making them more threatening. The map also has green units appear to the north, who all like to run head long toward a group of enemies. You have to at least send a couple of characters over there in order to save the NPCs. To the map's credit, you do get an Energy Ring if you successfully save them all, so you do have an incentive to actually save the NPCs.
Bartre appears a little too late and on the opposite side of the map, which can be a pain if you want to recruit him. The map has enemy reinforcements spawning out of the castle if you play too slowly, so that works as an incentive to beat the boss faster. Bartre showing up and the castle reinforcements could be better, but overall this map's positives slightly outweigh it's negatives.
Chapter 11B Ranking: Decent
__________________________________
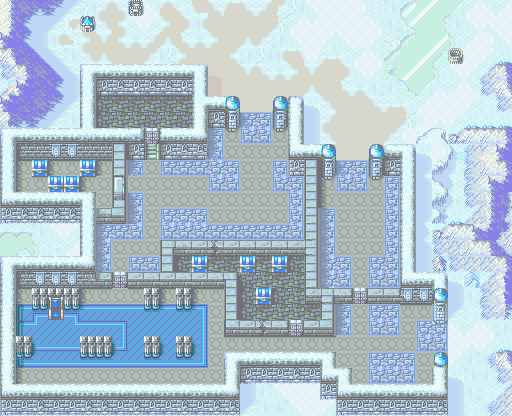
Chapter 17A
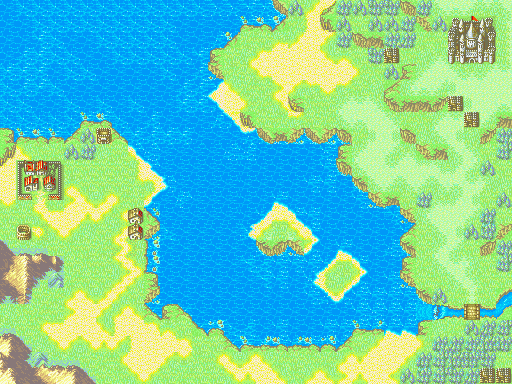
This is another map in Binding Blade that both encourages and discourages turtling. On the one hand, the route to the right takes forever in order to get to the throne. On the other hand, the more direct route takes time in order to show up (Turn 6 to be precise). If you try to take the ocean route, there will be plenty of enemies from the opposite side of the map that will try to charge you, which encourages turtling even further.
To it's credit, once you start approaching the throne, there will be lots of enemy reinforcements showing up from the forts. True, you will be able to stop some of the reinforcements, but not all of them since there are forts all throughout the map so you will get some kind of incentive to move forward faster.
Chapter 17A Ranking: Decent
__________________________________
Chapter 18A
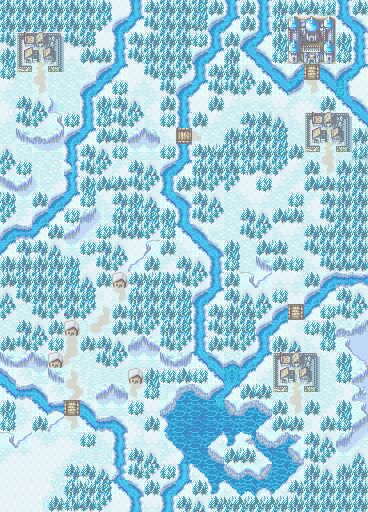
This is another map that's...fine. This is fine. You get three villages that the map will try to threaten with brigands. The map could have done more to threaten them, but as it stands you do have to play marginally faster with this approach so I guess it counts. Eventually the map will continue to throw more Pegasus Knights at the player, which will really encourage the player to move faster.
The terrain is also a major factor in this map, and not for the better. The trees and forest tiles generally slow down any non-flier unit which almost makes it function like the desert gimmick. Thankfully, Niime will freeze the river which is super helpful and helps to make this map play a smidge faster.
Chapter 18A Ranking: Decent
__________________________________
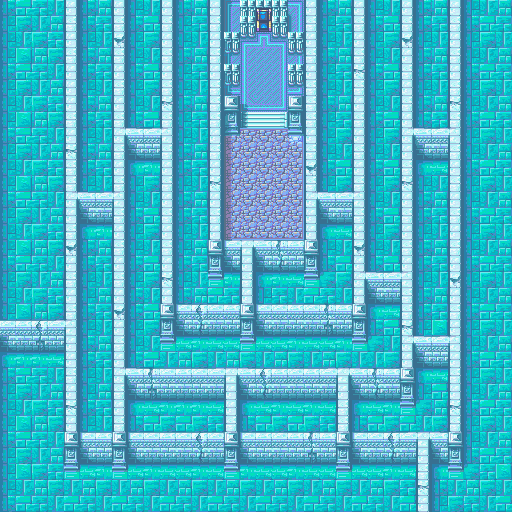
Chapter 19A
This map is boring. The path to the throne is a little too linear and uneventful. It hides behind a Fog of War gimmick while trying to throw Pegasus Knights, Ballista and Status Staves at you. The Fog of War prevents you from being able to tell if thieves threaten the village or not, so you never really feel the pressure to move forward. That's pretty much all there is to this map.
Chapter 19A Ranking: Meh
________________________________
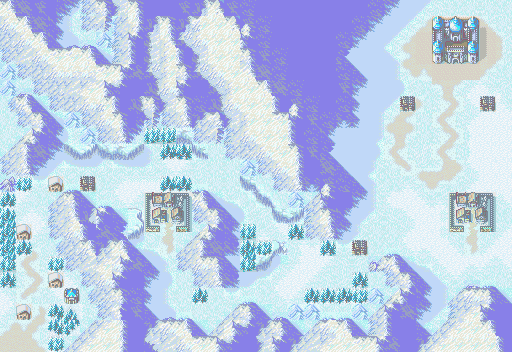
Chapter 20A
Chapter 20A gets my vote for being the "Best Designed Map in the Ilia Route". It gives you two routes to approach the map from, and an incentive to approach both routes. It provides a ton of enemy reinforcements, which will come at you in waves from behind if you're not prepared.
This map also has Juno and a bunch of NPCs, which you have to find a way to deal with. It's a fun side objective, and keep in mind that if you dilly dally, the enemies will open that up and try to kill them. You're also given treasures that are heavily guarded too as an extra fun side objective. It even threatens the treasures with either Cath or with enemy thieves too.
Chapter 20A Ranking: Excellent
__________________________________
Chapter 20Ax
This map is pretty boring. It does nothing to punish turtling, the enemies are uninteresting, and it seems like the best way to approach the map is straight ahead. Trying to break through gaps is the only remotely interesting part of the chapter, and it's nothing to write home about.
Chapter 20Ax Ranking: Meh
__________________________________
Final Map Design Tally
Positive: 20
Excellent: 7
Pretty Good: 5
Decent: 8
Negative: 18
Meh: 9
Below Average: 4
Fail: 5
Total Score: 52 %.
52 % of Binding Blade's maps have been rated "Decent" or higher. I'll write another post sometime in the future where I'll go into greater depth and detail about Binding Blade's map design. For now, the Map Ranking Hierarchy is:
# 1: Thracia 776 (60 %)
# 2: Fire Emblem 3 Book 2 (54 %)
# 3: Fire Emblem 12 (53 %)
# 4: Binding Blade (52 %)
Conquest: (40 - 42 % depending on whether you count the shared chapters or not)
No comments:
Post a Comment